
24 May, 2024 • 7 min read
Implementing Push Notifications in React JS: A Step-by-Step Guide
Firebase Cloud Messaging
Ably

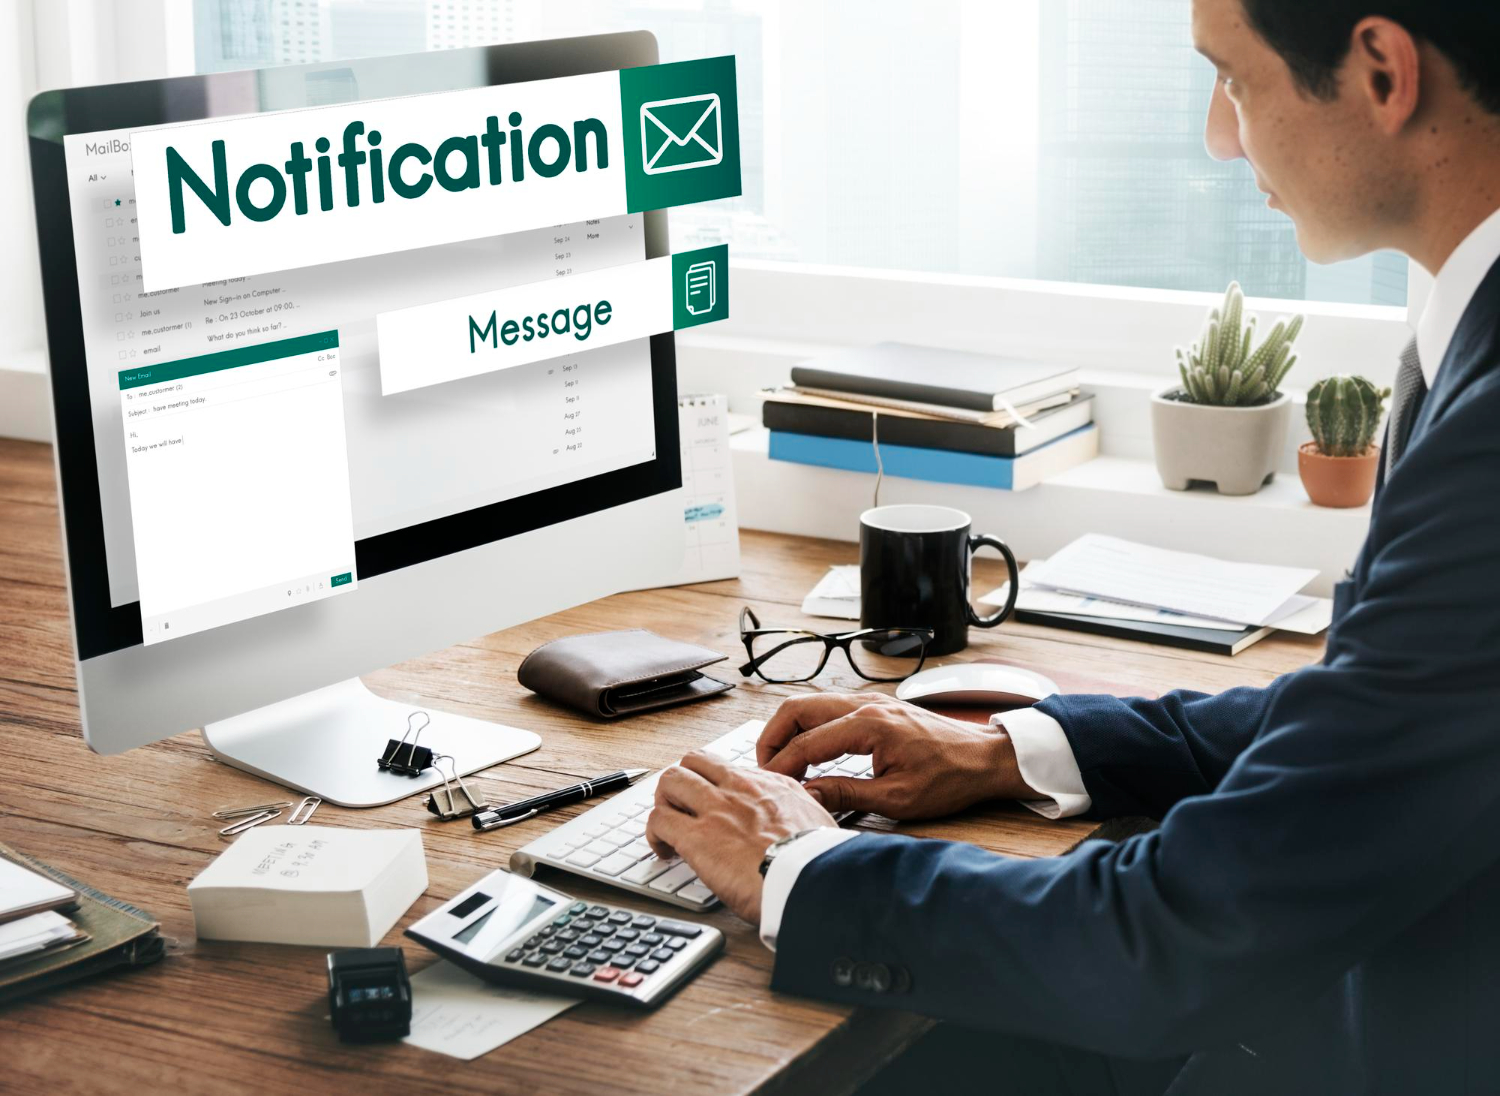
You’re about to add a powerful engagement tool to your React JS app: push notifications. First, sign up for a Feedify account and obtain your App ID and REST API Key. Install the Feedify SDK for React using npm, then import it into your App.js file. Next, initialize Feedify with your App ID and customize notification settings. You’ll also need to manage user subscriptions and send targeted notifications. From there, you’ll be able to track notification performance and make data-driven decisions. Now that you’ve got the basics covered, you’re ready to dive deeper into the details that’ll make your push notifications a success.
Contents
Key Takeaways
- Sign up for a Feedify account and obtain the App ID and REST API Key to set up push notifications in a React app.
- Install the Feedify SDK for React by running a command in the terminal and importing Feedify into the App.js file.
- Initialize Feedify in the React app by retrieving the App ID, choosing options, and customizing notification icons and titles.
- Manage user subscriptions for push notifications by using the Feedify.registerForPushNotifications() method and verifying user consent.
- Send and monitor notifications by selecting target users, creating personalized messages, and analyzing performance metrics.
Introduction to Push Notifications in React
Push notifications in React are super helpful for keeping users engaged and updated, even when they’re not using your app. They let you send personalized messages to users at the right time, which can boost user engagement and retention rates.
Here are some simple benefits of using push notifications in your React app:
- You can remind users about things like items left in their shopping cart.
- Send them special promotions just for them.
- Give them important updates about their accounts.
Prerequisites
Before you start adding push notifications to your React app with Feedify, make sure you have everything you need to get started. Here’s what you need to do:
- Sign up for a Feedify account if you haven’t already. This will give you access to the Feedify dashboard.
- Get your Feedify App ID and REST API Key from the settings section of your Feedify account.
- Store these keys securely as they’re essential for connecting your React app to Feedify.
Once you have your Feedify account set up and your API keys ready, you can move on to the next step: installing the Feedify SDK for React.
Install Feedify SDK for React
To install the Feedify SDK for React, you need to follow these simple steps:
- Open your terminal.
- Run
npm install react-Feedifyoryarn add react-Feedify. - This will download and install what you need.
After the installation, add import Feedify from 'react-Feedify'; to the top of your App.js file. This will make Feedify available for your React app.
Now you have the Feedify SDK for React installed and ready to use.
In the next step, you’ll set it up with your app ID and configure it for your React application.
Initialize Feedify
To set up Feedify in your React app, you just need to follow these simple steps:
- Get the Feedify App ID from the Feedify dashboard.
- Decide if you want users to be automatically registered for push notifications with the autoRegister option.
- Choose whether to show a notification button with the notifyButton option.
- You can also customize the notification icon or title with other configuration options.
By doing this, you’re making sure that your React app is ready to send push notifications and manage user consent easily.
Check the Feedify documentation for more details on how to configure these options for your app.
Handle User Subscription
To subscribe users to push notifications, you just need to use the Feedify.registerForPushNotifications() method. This method asks the user for permission and tells you if they’re subscribed or not. It’s important for managing user subscriptions and making sure you can send push notifications to them.
When you use Feedify.registerForPushNotifications(), a message will pop up asking the user if they want to get push notifications. You can change how the message looks to match your app’s style.
After the user says yes or no, the method will show if they’re subscribed. This helps you decide who to send push notifications to. Remember to only send notifications to people who said yes.
- Use Feedify.registerForPushNotifications() to ask for permission.
- Customize the message’s look to match your app.
- Check if the user is subscribed before sending notifications.
Send Notifications
To send notifications to your users, you can choose specific groups or individual users based on their location, device, or tags. Here’s how you can do it:
- Pick who you want to reach: Select the users or groups you want to send notifications to based on where they are, what device they use, or any special tags they have.
- Create and set up notifications: Make your messages and set them to go out at a certain time using Feedify’s tools.
- Personalize your messages: Make your notifications unique by changing the title, message, and icon on Feedify’s dashboard or API.
- Keep an eye on how they’re doing: Watch how well your notifications are doing, like how many were delivered, opened, and led to actions.
Handle Notification Events
To track how users interact with your push notifications, you need to listen to notification events. This helps you understand when notifications are shown, clicked, or closed. You can do this by using the Feedify.on() method. This method lets you subscribe to different events like notificationDisplay, notificationClick, and notificationDismiss.
Here’s how you handle notification events:
- Use
Feedify.on()method to subscribe to events - Listen for events like
notificationDisplay,notificationClick, andnotificationDismiss - Perform actions based on the event type
- For example, navigate to a specific page when a notification is clicked
- Update the application state when a notification is dismissed
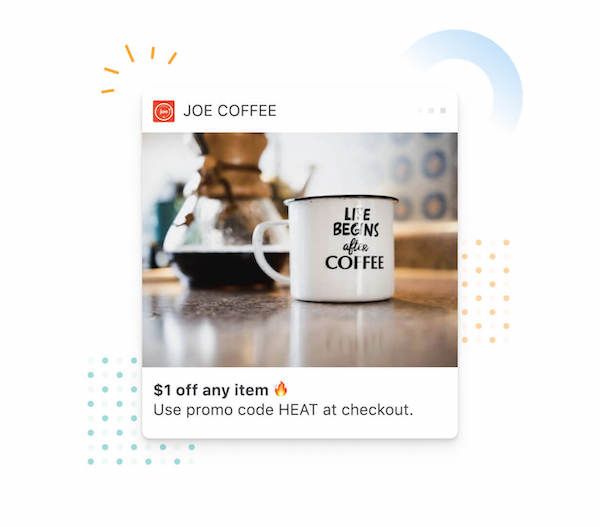
Customize Notification Appearance
Customize how your notifications look by changing the title, message, and icon with Feedify.sendTag() method. You can make them fit your app’s style and brand.
Here’s how you can do it:
- Change the Notification Title: Make a catchy title that tells users what the notification is about.
- Edit the Notification Content: Write a short and clear message that users will find helpful.
- Pick a Notification Icon: Choose an icon that matches your brand and suits the notification.
- Add a Custom URL or Deep Link: Include a special link to take users to a specific page or action in your app.
Segment Users
Segment your users by things like where they live, what kind of device they use, or their interests. This helps you send them push notifications that they care about, which can make them more likely to engage with your messages and take action.
Here’s an example of how you can segment your users:
- Location-based: Target users based on where they are, like their country, city, or region.
- Device-based: Split users by the type of device they have, like desktop, tablet, or mobile.
- Interest-based: Aim messages at users with specific interests, hobbies, or preferences, like favorite sports teams.
Track Notification Performance
To make your push notifications work better, you need to see how well they’re doing. Feedify helps you do that by giving you tools to check important numbers and see if your notifications are working.
With Feedify’s notification analytics, you can:
- See how many notifications actually reach your users.
- Check how many users open the notifications you send.
- Find out how many users do what you want them to do after getting a notification.
- Understand how users interact with your notifications, like if they click on them or ignore them.
Conclusion
Congratulations on successfully adding push notifications to your React app with Feedify! This cool feature allows you to send real-time updates and engage users instantly.
Here are the benefits of using push notifications:
- Get real-time updates on new content, updates, or offers.
- Increase user engagement with personalized notifications.
- Reach specific user groups with customized content and offers.
If you want to explore more options besides Feedify, check out platforms like OneSignal or Pushwoosh. They offer different features and pricing that might better fit your app’s needs.
Keep exploring and engaging your users with push notifications!

Ankur
Ankur, with over 20 years of expertise, simplifies the complex world of online marketing to boost your conversion rates. He shares actionable insights that anyone can apply to see immediate results. Trust Ankur to guide you through proven strategies that enhance your online presence and profitability.
Related Blogs
By Ankur • 6 min read
The Benefits of Using Free Notification Services
Free notification services offer big perks for businesses, like Feedify, which help keep customers coming back and staying connected. These services make it easier for...
By Ankur • 6 min read
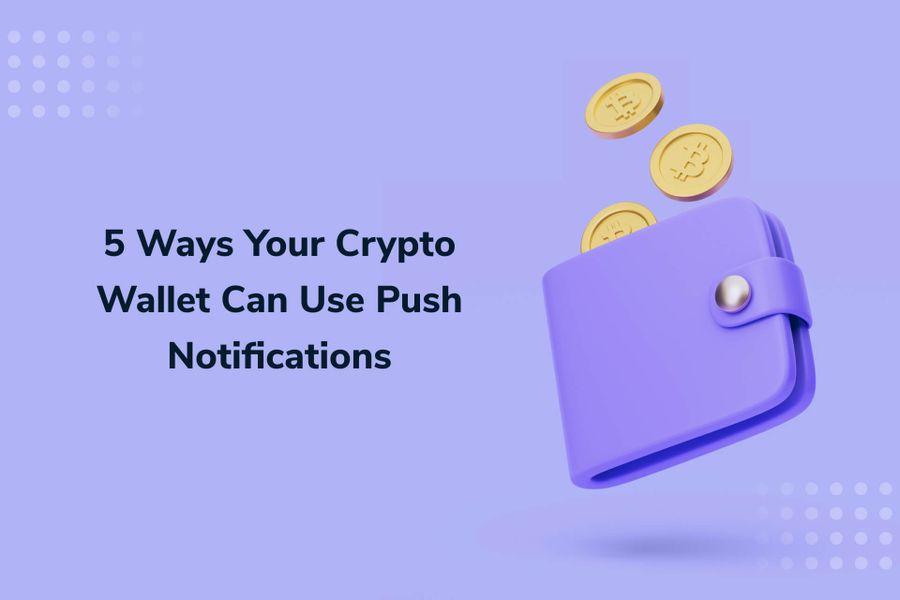
Boost User Engagement: 5 Push Notification Strategies for Crypto Wallets
You can supercharge your crypto wallet with push notifications to enhance security, simplify transaction tracking, and inform your investment decisions. You'll receive alerts about potential...
Crypto Wallets
Blockchain Technology
By Ankur • 7 min read
3 Tips for Sending Push Notifications For the Joyful Holiday Season
To maximize your holiday push notification campaigns, you'll want to focus on personalization, strategic timing, and themed promotions. First, leverage user data to segment your...
Holiday Marketing Tips
Holiday Campaigns