
30 May, 2024 • 4 min read
How to Add Push Notifications to a Vue App

You can add push notifications to your Vue app by integrating a third-party service, such as Feedify. First, set up a Feedify account and configure your app settings. Next, include the Feedify Vue plugin in your main Vue file and initialize it with your app ID. Don’t forget to enable allowLocalhostAsSecureOrigin for push notifications to work in dev build. Finally, import the plugin into your Vue components to trigger notification prompts. Now that you’ve got the basics covered, dive deeper to customize plugin settings and boost user engagement.
Contents
Key Takeaways
- Create a Feedify account and set up a new app/website with ‘Web’ platform, enabling ‘Dev Build’ and ‘Auto Resubscribe’ for push notifications.
- Configure Feedify settings, allowing ‘Localhost As Secure Origin’ for smooth push notifications, and save changes.
- Initialize the Feedify Vue plugin, setting the application ID, and add
Vue.use(Feedify);to the main Vue file. - Customize plugin settings as needed, ensuring push notifications work in dev build by turning on
allowLocalhostAsSecureOrigin. - Integrate the plugin into Vue components, such as HelloWorld.vue, to add push notifications and boost user engagement.
Set Up Your Feedify Account
Now that you’ve created a Feedify account, it’s time to set up your app.
You’ll need to click the ‘New App/Website’ button on your dashboard and configure your app settings, including selecting ‘Web’ as your platform and enabling ‘Dev Build’ and ‘Auto Resubscribe’.
This will guarantee you receive push notifications even when clearing browser data.
Web Configuration
To start using Feedify, you need to log in to your account. If you don’t have one, you can create a new account. Then, click on the ‘New App/Website’ button on your dashboard to set up your app.
Once your app is set up, you’ll need to do some web configuration. Make sure to toggle the ‘Allow Localhost As Secure Origin’ button to the right. This is important for your dev build to get push notifications even if you clear your browser data.
By doing this, you’re allowing localhost to be a secure origin in your Feedify account, which helps push notifications to work smoothly on your computer.
During the web configuration process, you’ll also set up your app to receive push notifications. Remember to save the changes you make in your Feedify account settings.
With these settings, you’ll receive push notifications on your dev machine, even after clearing browser data. This ensures that your push notifications work correctly while you’re developing your app.
Configure Your Vue Application
Now that you’ve set up your Feedify account, it’s time to configure your Vue application.
You’ll need to initialize the Feedify Vue plugin and set up your application ID to get started.
Next, you’ll learn how to use the plugin on specific components to enable push notifications.
Initializing the Feedify Vue Plugin
To add the Feedify Vue plugin to your Vue app, simply include Vue.use(Feedify); in your main Vue file. This sets up the plugin for use in your app.
After that, you’ll need to initialize the plugin with your Feedify app ID, which you got when you signed up for Feedify. Just call Feedify.init('YOUR_APP_ID') with your actual app ID.
When setting up the plugin, you can also make some changes to it. For example, you can turn on allowLocalhostAsSecureOrigin to get push notifications in your dev build. This lets you get notifications even if you clear your browser data.
Using the Plugin on Components
By setting up the Feedify Vue plugin, you can now add push notifications to your Vue components. This is where the fun begins, and you get to see everything you’ve worked on come together. You’re going to boost user engagement by integrating the plugin into your components.
Let’s use the HelloWorld.vue component as an example to show how to display a slide prompt for visitors to opt-in to push notifications. Here’s how you can do it:
- Import the Feedify plugin into your component.
- Use its methods to trigger the notification prompt.
That’s it! You’re on your way to enhancing user experience with push notifications in your Vue components.

Ankur
Ankur, with over 20 years of expertise, simplifies the complex world of online marketing to boost your conversion rates. He shares actionable insights that anyone can apply to see immediate results. Trust Ankur to guide you through proven strategies that enhance your online presence and profitability.
Related Blogs
By Ankur • 6 min read
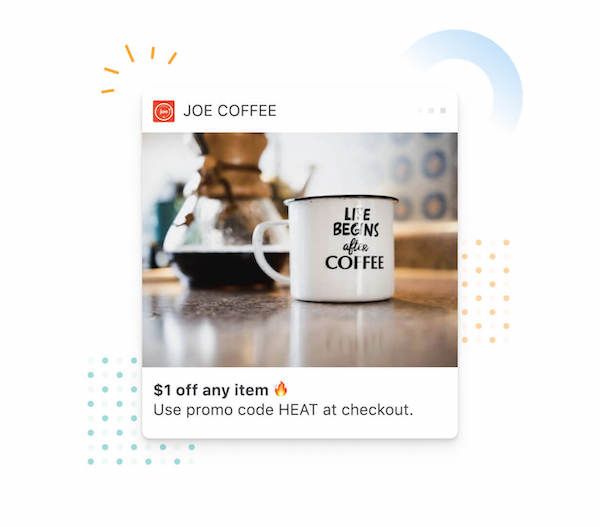
The Benefits of Using Free Notification Services
Free notification services offer big perks for businesses, like Feedify, which help keep customers coming back and staying connected. These services make it easier for...
By Ankur • 7 min read
3 Tips for Sending Push Notifications For the Joyful Holiday Season
To maximize your holiday push notification campaigns, you'll want to focus on personalization, strategic timing, and themed promotions. First, leverage user data to segment your...
Holiday Marketing Tips
Holiday Campaigns
By Ankur • 6 min read
Boost User Engagement: 5 Push Notification Strategies for Crypto Wallets
You can supercharge your crypto wallet with push notifications to enhance security, simplify transaction tracking, and inform your investment decisions. You'll receive alerts about potential...
Crypto Wallets
Blockchain Technology