
22 Mar, 2024 • 12 min read
Firebase Push Notifications for Android and iOS
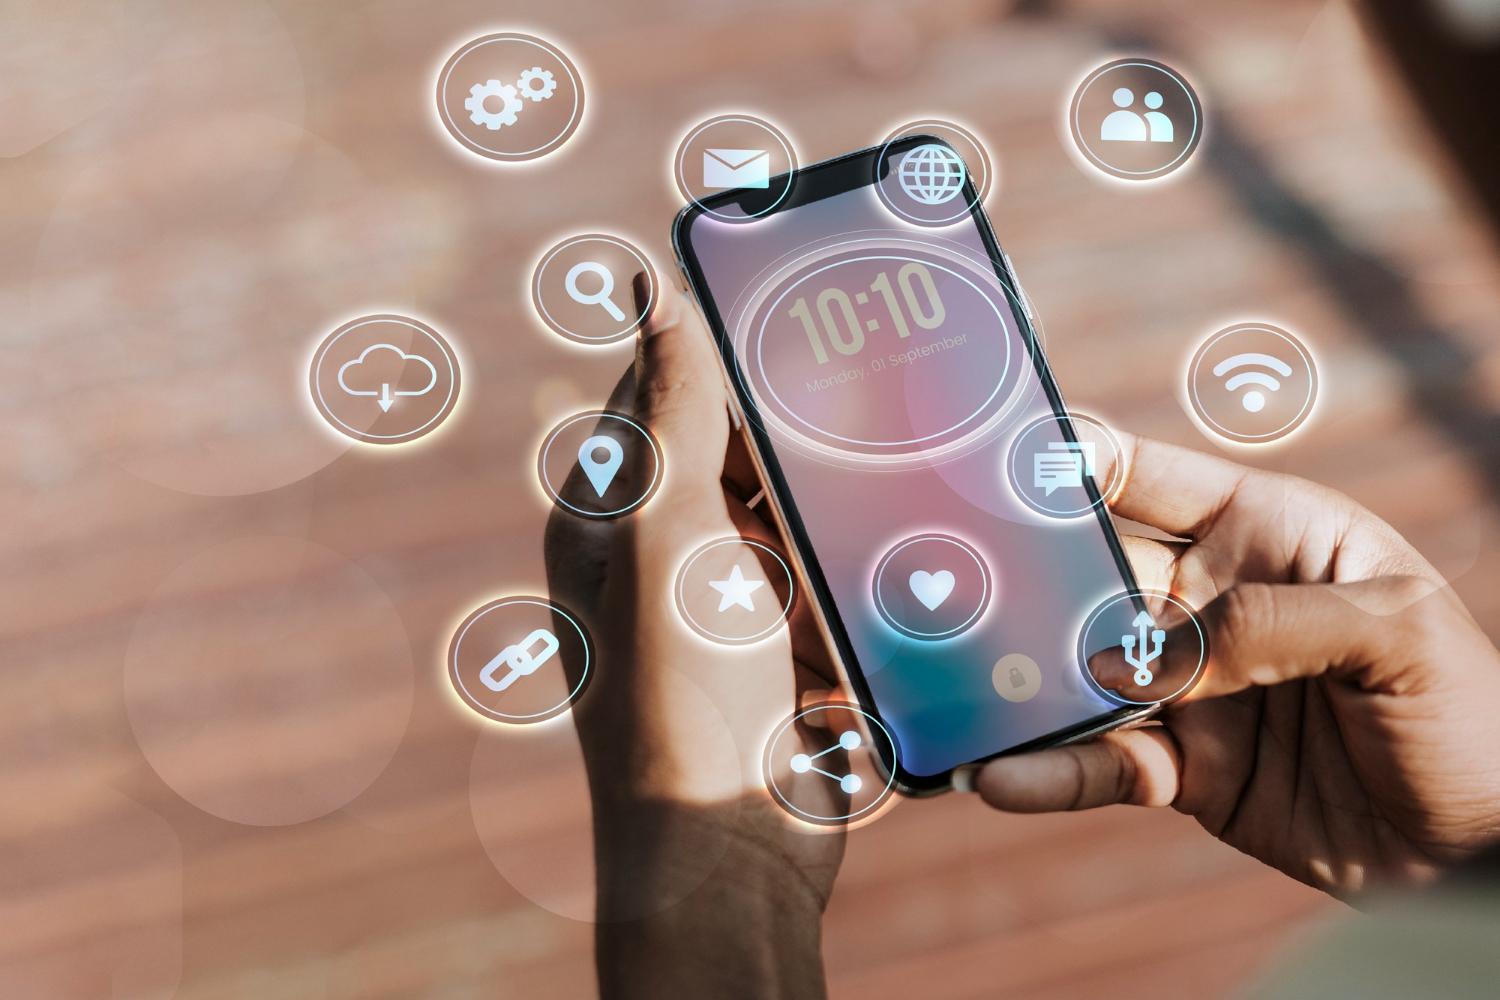
Firebase Push Notifications are a powerful tool for mobile app developers. They help you send messages or alerts directly to the users of your Android or iOS apps. Think of them as a fast way to keep in touch with your app users, whether it’s to let them know about a new feature, a special offer, or just a reminder to check out your app. This kind of direct communication can make a big difference in how people use your app and keep them coming back for more.
Contents
- 1 Setting Up Firebase for Your Project
- 2 Implementing Push Notifications in Your App
- 3 Customizing Firebase Push Notifications
- 4 Testing and Monitoring Push Notifications
- 5 Advanced Topics in Firebase Push Notifications
- 6 Handling Large Scale Notifications
- 7 Troubleshooting Common Issues
- 8 Conclusion: Maximizing Engagement with Firebase Push Notifications
- 9 FAQs
Setting Up Firebase for Your Project
To start using Firebase Push Notifications, you first need to create a Firebase project and add your app to it. Here’s a simple guide:
- Go to the Firebase website and sign in with your Google account.
- Click on “Go to console” and then “Add project”.
- Follow the steps to create your project. You’ll need to give it a name and agree to the terms.
- Once your project is ready, you’ll see a button to add an app to your project. You can add an Android app, an iOS app, or both.
- For Android, you’ll need your app’s package name. For iOS, you need your app’s bundle ID.
- Follow the instructions to download a config file for your app. For Android, it’s a google-services.json file, and for iOS, it’s a GoogleService-Info.plist file.
- Now, you’ll need to add these files to your app. This tells your app how to connect to Firebase.
Integrating Firebase with Android and iOS
Integrating Firebase with your app is like giving it the key to send and receive push notifications. Here’s how to do it for both Android and iOS:
- For Android Studio:
- With your project open, place the google-services.json file into the ‘app’ directory of your Android project.
- Next, add some Google services plugin lines to your build. gradle files. There’s one for your project and one for your app module.
- Sync your project and you’re ready to start using Firebase features.
- For Xcode (iOS):
- Open your project in Xcode, then drag and drop the GoogleService-Info.plist file into the root of your project. Make sure to select “Copy items if needed” and click Finish.
- Then, you’ll need to add the Firebase SDK to your project. The easiest way is via CocoaPods. Open your terminal, navigate to your project directory, and run pod init to create a Podfile.
- Open the Podfile with a text editor and add pod ‘Firebase/Messaging’ to include Firebase Messaging service. Save the file and run pod install in your terminal. This installs the necessary libraries.
- Open the .xcworkspace file with Xcode to ensure all the changes are recognized.
Implementing Push Notifications in Your App
Once you have Firebase set up with your mobile app, it’s time to implement push notifications. This involves writing code that handles the messages and displays them as notifications on the user’s device. Here’s a brief overview for both Android and iOS:
- For Android:
- Import the Firebase messaging service in your Android app code.
- Create a new class that extends FirebaseMessagingService. In this class, you’ll handle incoming messages or notifications.
- Override the onMessageReceived method to customize what happens when your app receives a push notification. This could involve creating a notification with a title and message to display to the user.
- Update your Android manifest to declare the use of the Firebase messaging service.
- For iOS:
- In your app delegate, import Firebase and configure it within the didFinishLaunchingWithOptions method by calling FirebaseApp.configure().
- Request permission from the user to receive notifications. This is done using the UNUserNotificationCenter.
- Implement the necessary delegate methods to handle incoming notifications, both in the foreground and background.
Handling Notification Data
When you receive a push notification, it often comes with data that your app might need to use. Handling this data correctly is crucial for a smooth user experience. Here’s how to do it:
- App Side:
- For Android: Inside the onMessageReceived method, you can access the notification’s data payload. Use this data to decide what action to take in your app. For example, you might start a specific activity, update some content, or even send a local notification.
- For iOS: When a notification arrives while the app is in the foreground, the userNotificationCenter:willPresentNotification:withCompletionHandler: method is called. You can access the notification’s payload here and update your app accordingly. For notifications received in the background, you’ll handle them in the didReceiveRemoteNotification: method in your app delegate.
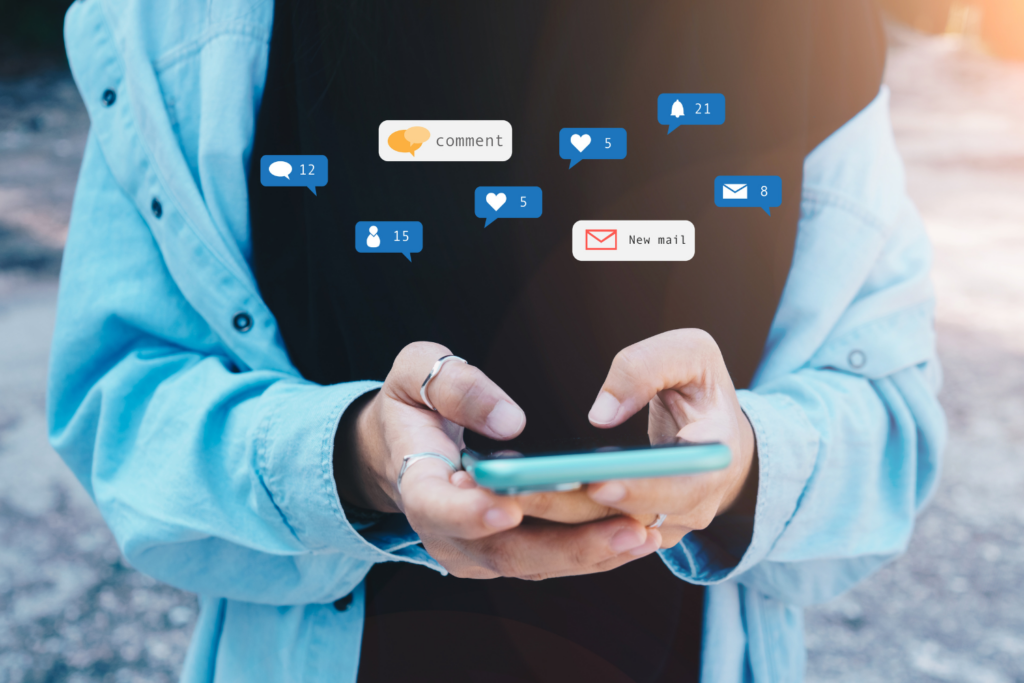
Customizing Firebase Push Notifications
To stand out and engage your users better, you might want to customize the appearance and content of your push notifications. Here’s how you can add some creativity to your notifications:
- Title and Message: Start with the basics. Make sure your notifications have a compelling title and message that resonates with your audience. You can customize these directly from the Firebase console when sending a notification.
- Sound: Custom sounds can make your notifications noticeable. You can specify a sound file for your notifications in both Android and iOS.
- Badge Numbers: Especially for iOS, badge numbers on your app icon can indicate new content or messages. Managing badge numbers correctly ensures users are aware there’s something new without being overwhelmed.
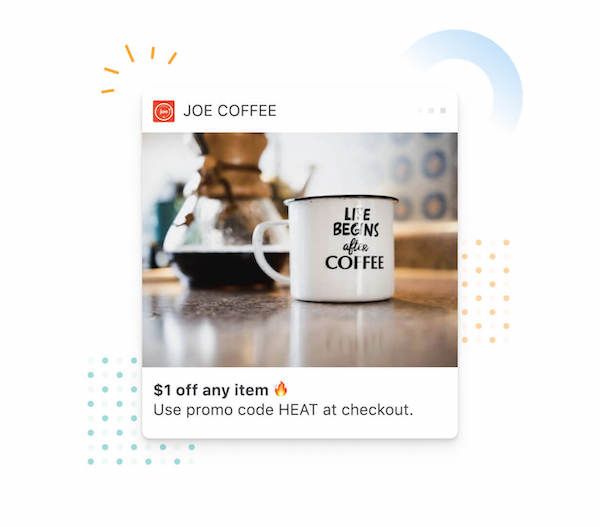
- Rich Media: Adding images or videos to your notifications can significantly increase engagement.
Using Images in Notifications
Including images in your Firebase push notifications can make them more engaging and informative. Here’s a quick guide:
- For Android: Use the NotificationCompat.Builder class and specify a large icon or use the setStyle method with NotificationCompat.BigPictureStyle() to include a bigger image.
- For iOS: Use the UNNotificationAttachment class to attach images, GIFs, or videos to your notifications. You’ll need to handle the attachment in your notification service extension.
Testing and Monitoring Push Notifications
Before rolling out notifications to all your users, it’s important to test them on various devices to ensure they work as expected and provide a great user experience. Additionally, monitoring their performance once they’re live is crucial for understanding their impact.
Strategies for Testing Push Notifications on Different Devices:
- Use Test Devices: Set up a range of devices with different operating systems and versions. Send test notifications to ensure they appear correctly across all devices and handle different scenarios like when the device is locked or the app is in the background.
- Use Emulators/Simulators: Both Android Studio and Xcode offer emulators and simulators to test how notifications appear and behave in different conditions without needing physical devices.
- Segment Your Audience: When ready to test on a broader scale, segment your audience to send test notifications to a small, controlled group. This helps catch issues before they affect all your users.
- A/B Testing: Experiment with different versions of your notifications (e.g., varied texts, images, or sounds) to see what works best in engaging users. Firebase offers A/B testing features to help with this.
Analyzing Notification Performance
It’s not enough to just send out notifications; you need to know how they’re performing. Understanding your notifications’ impact can help you refine your strategy and improve user engagement.
- Open Rates: Track how often users open your notifications. High open rates typically indicate your notifications are relevant and engaging.
- Conversion Rates: If your notifications aim to encourage specific actions (like making a purchase or completing a level in a game), measure how effectively they achieve these goals.
- Engagement Time: Monitor when your notifications are opened to find the optimal times for engagement. This information can help you schedule notifications more effectively.
- User Feedback: Sometimes, direct user feedback can provide insights into how your notifications are received. Use surveys or in-app feedback tools to gather opinions.
Advanced Topics in Firebase Push Notifications
Once you have a handle on the basics, it’s time to explore more advanced features of Firebase push notifications that can help you further engage your audience:
Topic Messages: This feature allows you to send notifications to users subscribed to specific topics. This is great for targeting users with interests in particular subjects or features of your app.
Priority Settings: You can set priority levels for your notifications, determining how urgently a notification should be delivered to your users. For instance, critical alerts can be set to high priority to ensure they are delivered and noticed immediately, whereas less critical updates can be set to a lower priority.
Segmentation and Personalization: Firebase allows you to segment your audience based on their behavior, interests, and other attributes. This enables you to send personalized notifications that are more likely to engage and resonate with each user segment.
Handling Large Scale Notifications
When sending notifications to a large number of users, it’s important to ensure that your messaging strategy is scalable and does not overwhelm your servers or annoy your users. Here are some best practices:
- Batch Processing: Instead of sending notifications one by one, batch them to reduce the number of requests to your server. Firebase handles this efficiently, but it’s good to design your notification payloads with scalability in mind.
- Throttling: Implementing throttling can help prevent your system from being overloaded by spreading out notification deliveries over a period, rather than sending them all at once.
- Optimize Payload Size: Keep your notification payloads as small as possible to ensure quick delivery and reduce data usage for users on limited data plans.
- Feedback Loops: Use Firebase’s delivery reports and analytics to monitor the success rate of your notifications. This data can help identify issues like tokens that are no longer valid so you can clean up your subscriber list.
Troubleshooting Common Issues
While Firebase push notifications are relatively straightforward to implement, you might encounter some common issues. Understanding how to solve these can save you time and headaches:
- Notification Delivery Issues: If notifications are not being delivered, check your device’s network connection, ensure that your app’s Firebase configuration is correct, and that the device registration token is up-to-date.
- Updating Device Registration Tokens: Firebase periodically refreshes device registration tokens. Listen for token updates in your app and ensure to update the token on your server to maintain uninterrupted notification delivery.
- Handling Notifications Across Different States: Notifications may behave differently depending on whether your app is in the foreground, background, or closed. Ensure your app handles all these states appropriately to provide a consistent user experience.
- Debugging Notification Content: Sometimes, the issue might be with the payload of the notification itself. Ensure that the payload is correctly formatted and does not exceed Firebase’s size limits. Use the Firebase console’s “Test on device” feature to send test messages and verify that the content appears as expected.
- Operating System Limitations: Both Android and iOS have specific limitations and behavior nuances regarding push notifications (e.g., notification channels on Android 8.0 and above, or the need for user permission on iOS). Familiarize yourself with these platform-specific considerations and ensure your app complies with them.
Conclusion: Maximizing Engagement with Firebase Push Notifications
Firebase push notifications are a potent tool for engaging and retaining app users. By mastering their implementation and customization, you can significantly enhance the user experience, driving higher app usage and loyalty. Remember, the key takeaways for maximizing engagement through Firebase push notifications include:
- Personalization: Tailor your notifications based on user behavior and preferences to make them more relevant and engaging.
- Timing: Analyze user data to find the optimal times for sending notifications, ensuring they are seen and acted upon.
- Testing and Optimization: Continuously test different notification strategies and analyze their performance to refine your approach.
- User Feedback: Listen to your users’ feedback regarding notifications and adjust your strategy accordingly to meet their preferences and needs better.
FAQs
1. What are Firebase Push Notifications?
Firebase Push Notifications are messages sent by your app server to user devices through Firebase Cloud Messaging (FCM). They can appear as app icon badges, sound alerts, or text-based messages.
2. How do I set up Firebase Push Notifications for my app?
Setting up Firebase Push Notifications involves creating a Firebase project, adding your app, configuring it with the necessary Firebase SDKs, and implementing the push notification functionality in your app code.
3. Can I customize the appearance of Firebase Push Notifications?
Yes, you can customize Firebase Push Notifications with different titles, messages, sounds, and icons, and even include media like images or videos to make them more engaging.
4. How can I test Firebase Push Notifications on different devices?
You can test Firebase Push Notifications on different devices by using physical devices with varying operating systems and versions, utilizing emulators and simulators provided by Android Studio and Xcode, and leveraging Firebase’s “Test on device” feature for direct testing.
5. What are some common issues with Firebase Push Notifications and how can I solve them?
Common issues include notification delivery problems, outdated device registration tokens, inconsistent notification behavior across app states, and payload formatting errors. Solutions involve checking network connectivity, updating Firebase configurations and device registration tokens, ensuring your app correctly handles notifications in all states, and adhering to payload size limits and formatting requirements.
By mastering the implementation, customization, and troubleshooting of Firebase Push Notifications, you can unlock a powerful channel for engaging users, encouraging app interactions, and ultimately, fostering a loyal user base for your mobile application.

Ankur
Ankur, with over 20 years of expertise, simplifies the complex world of online marketing to boost your conversion rates. He shares actionable insights that anyone can apply to see immediate results. Trust Ankur to guide you through proven strategies that enhance your online presence and profitability.
Related Blogs
By Ankur • 6 min read
The Benefits of Using Free Notification Services
Free notification services offer big perks for businesses, like Feedify, which help keep customers coming back and staying connected. These services make it easier for...
By Ankur • 7 min read
3 Tips for Sending Push Notifications For the Joyful Holiday Season
To maximize your holiday push notification campaigns, you'll want to focus on personalization, strategic timing, and themed promotions. First, leverage user data to segment your...
Holiday Marketing Tips
Holiday Campaigns
By Ankur • 6 min read
Boost User Engagement: 5 Push Notification Strategies for Crypto Wallets
You can supercharge your crypto wallet with push notifications to enhance security, simplify transaction tracking, and inform your investment decisions. You'll receive alerts about potential...
Crypto Wallets
Blockchain Technology